Table of Contents
- Introduction
- Why Create a Group on an iPhone?
- Steps to organize your contacts on iPhone using iCloud
- Step 1: Access iCloud
- Step 2: Open Contacts
- Step 3: Create a New Group
- Step 4: Add Contacts to the Group
- How to Use a Group in the Messages App
- Sending a Message to the Group
- Naming Your Group
- How to Use a Group in the Mail App
- Sending an Email to the Group
- Managing and Editing Groups
- Renaming a Group
- Deleting a Group
- Frequently Asked Questions (FAQs)
- Conclusion
Creating a group on your iPhone can significantly streamline your communication with multiple contacts. Whether you want to keep in touch with family, collaborate with colleagues, or organize events with friends, setting up a group makes it easier to send messages and emails to multiple people simultaneously.
This guide will walk you through the steps to create and manage groups on your iPhone, ensuring you can stay connected effortlessly. Read on to learn how to create, use, and manage groups effectively on your iPhone.
Why Should You Create a Group on an iPhone?
Creating groups on your iPhone offers several benefits. It saves time when you need to communicate with multiple people simultaneously. Instead of selecting each contact individually, you can send a single message or email to an entire group.
This is particularly useful for coordinating events, sharing updates, or collaborating on projects. Additionally, groups help keep your contacts organized, making it easier to find and reach out to specific sets of people.
Steps to Organize Your Contacts on iPhone Using iCloud
Step 1: Access iCloud
First, ensure that your iPhone is connected to iCloud. Head to your iPhone’s Settings, tap on your name at the top of the screen, and then select iCloud to access your account settings. Ensure that Contacts are toggled on.
Step 2: Open Contacts
Access iCloud from your computer by opening a web browser and navigating to iCloud.com. Enter your Apple ID credentials to sign in. After logging in, locate and click on the Contacts icon to manage your contacts.
Step 3: Create a New Group
In the Contacts interface, look at the bottom left corner and click the plus (+) button. Select “New Group” from the menu. A new group named “Untitled Group” will appear in the sidebar. Rename it to something descriptive, like “Family” or “Work Team.”
Step 4: Add Contacts to the Group
Drag and drop the desired contacts from the list into your new group. You can also add contacts by selecting them, clicking the gear icon in the lower-left corner, and choosing “Add to Group.” Your group is now ready to use.
How to Use a Group in the Messages App?
Sending a Message to the Group
To send a message to your new group, open the Messages app on your iPhone. Tap the compose icon, start typing the group’s name in the “To” field, and select it from the list. Type your message and hit send. The message will be delivered to all group members.
Naming Your Group
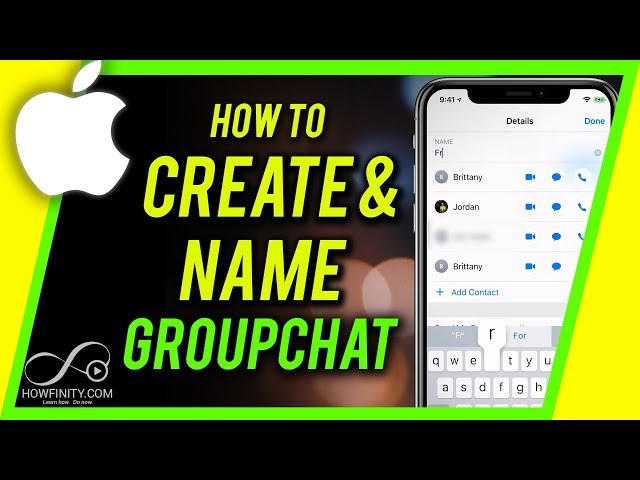
You can name your group for easy identification. To rename a group conversation in the Messages app, open the conversation and tap the group icon at the top. Then, select ‘info’ and choose ‘Enter a Group Name’. From there, type in the name you’d like to give your group.
How to Use a Group in the Mail App?
Sending an Email to the Group
Start a new email by opening the Mail app on your iPhone and tapping the compose icon (usually represented by a pencil or pen nib symbol). In the “To” field, start typing the name of your group and select it from the list. Compose your email and send it. Keep in mind that sending an email to the group will result in all group members receiving the email.
What is the Best Way to Managing and Editing Groups?
Renaming a Group
To rename a group, go to iCloud.com, open Contacts, select the group, click on the group name, and type the new name.
Deleting a Group
To delete a group, select it in the iCloud Contacts interface, click the gear icon, and choose “Delete.” Note that this action will not delete the contacts within the group, just the group itself.
Frequently Asked Questions (FAQs)
1. Can I create groups directly on my iPhone?
No, creating contact groups must be done through iCloud on a computer. However, you can manage and use these groups on your iPhone once they are created.
2. Can I add or remove contacts from a group on my iPhone?
No, you need to use iCloud on a computer to add or remove contacts from a group. Changes will sync to your iPhone.
3. Will deleting a group remove the contacts?
No, deleting a group in iCloud only removes the group itself. The contacts within the group remain in your contacts list.
4. Can I use groups for FaceTime calls?
Currently, iPhone does not support initiating FaceTime calls directly with contact groups. You will need to add participants manually in the FaceTime app.
5. Can I share a contact group with others?
No, you cannot share contact groups directly. However, you can manually share the contacts within the group individually.
Conclusion
Creating and managing contact groups on your iPhone using iCloud simplifies your communication, making it more efficient to connect with multiple people at once. By following the steps outlined in this guide, you can easily set up, use, and maintain contact groups for various purposes, whether personal or professional. This feature enhances your iPhone’s functionality, helping you stay organized and connected effortlessly.


